Tutorial
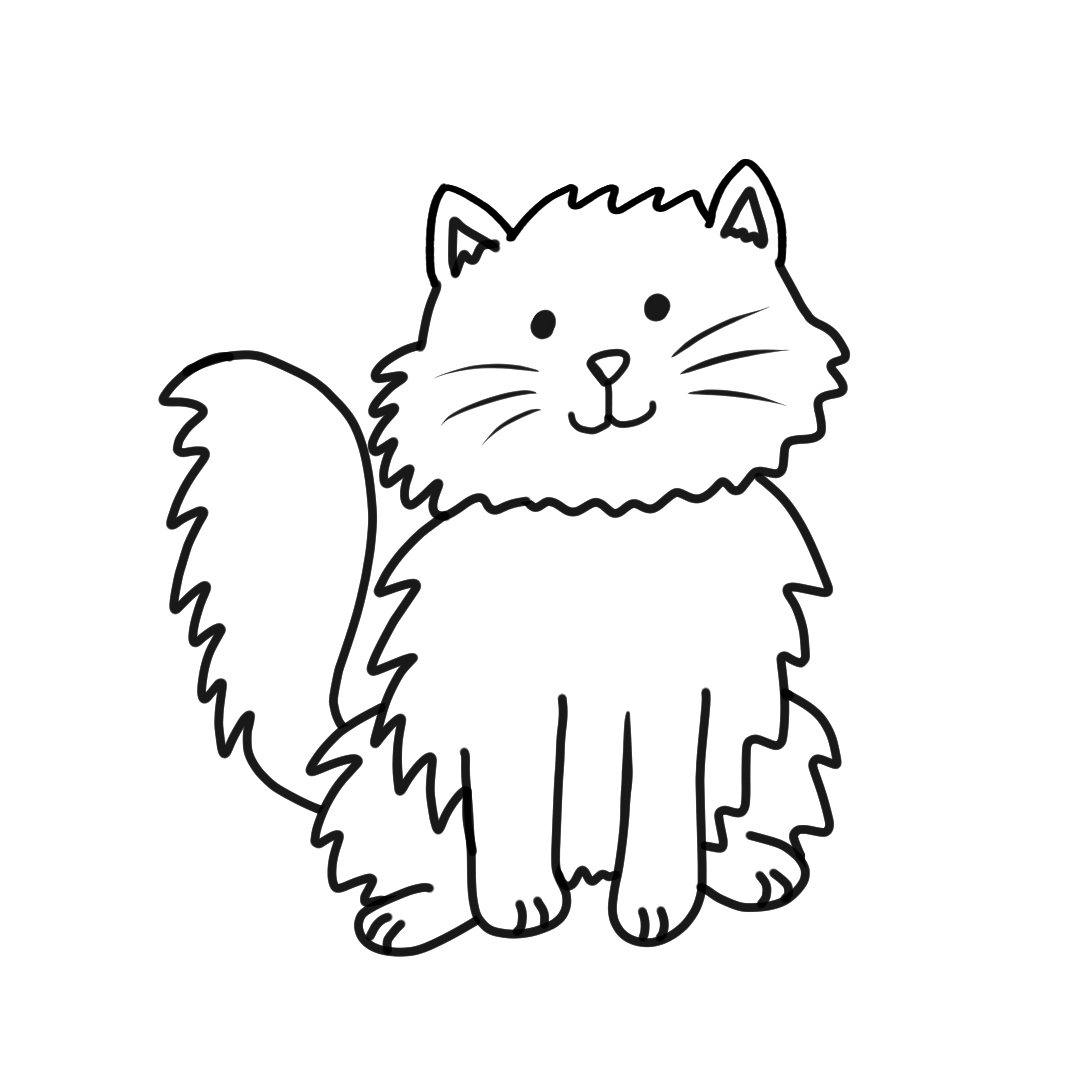
Learning how to draw a fluffy cat step by step is a fun and easy drawing activity for kids, beginners, and anyone who loves cute animals. In this simple fluffy cat drawing tutorial, we will build the drawing one small step at a time — starting with the top of the cat's fluffy head and slowly adding the face, body, paws, and big fluffy tail.
Each step is clearly shown with a drawing so you can follow along easily at your own pace. The cyan lines in every image show exactly what to draw next, making this tutorial extra beginner friendly.
By the end of this tutorial you will have an adorable fluffy cartoon cat that you can colour in any way you like. Try orange, grey, white, black, or even rainbow fur if you want to get creative.
Grab a pencil, some paper, and follow along step by step. The cyan lines show you exactly what to draw next.
Free printable worksheet — print at home or in the classroom
Download Free Fluffy Cat Drawing Printable (PDF)
You only need simple drawing supplies for this tutorial — a pencil and paper are perfect.
Start near the top centre of your page. Draw two pointy cat ears connected by a fluffy zigzag line across the top of the head. The little bumps in the middle help make the fur look soft and fluffy.
From the left ear, draw a fluffy zigzag line going downward to make the left cheek. Keep the fur bumpy and soft looking rather than smooth.
Now draw the fluffy right side of the face and connect both sides with a soft furry chin at the bottom. Your cat head should now look round and fluffy.
Draw two small oval eyes, a tiny triangle nose, a smiling mouth, and long whiskers. These simple details make your fluffy cat look cute and friendly.
Under the head, draw two fluffy zigzag lines going downward to create the body. Make the body wider near the bottom so the cat looks soft and furry.
Draw the first front leg hanging down from the body. Use smooth rounded lines for the leg and paw to make the cat look soft and gentle.
Add the second front leg beside the first one. Try to keep both legs a similar size so the cat looks balanced sitting down.
Draw two fluffy curved shapes on each side near the bottom of the body. These are the top of the legs that are sticking out as the cat stis.
Draw two fluffy curved shapes on each side near the bottom of the body. These are the cat's back paws tucked beside its body.
On the left side of the cat, draw a large fluffy tail curving upward. Use big zigzag fur lines to make the tail look extra fluffy and soft.
Inside each ear, draw a smaller triangle shape. This simple detail helps the ears look more realistic and complete.
Add a few short curved lines on each paw to show the toes. These tiny details help make your fluffy cat drawing look finished.
Go over your final lines with a darker pencil or black marker and erase any extra sketch marks. Your fluffy cat drawing is now complete and ready to colour in. Try using grey, orange, white, or even rainbow colours to make your cat unique.
Great job — your fluffy cat drawing is finished! Your cat now has soft fluffy fur, cute whiskers, fluffy paws, and a giant furry tail. Try colouring your cat with realistic colours or create a magical rainbow cat with bright fun colours.
Keep practising and try drawing more animals!
Is this fluffy cat drawing tutorial easy for beginners?
Yes, this tutorial is designed for beginners and young children. Every step is simple and easy to follow using the cyan guide lines.
What age is this fluffy cat tutorial suitable for?
This drawing tutorial is great for children aged 4 and up, as well as beginner artists who want to practice drawing cute animals.
Do I need special supplies to draw this fluffy cat?
No special art supplies are needed. A pencil, paper, and eraser are enough to complete the drawing.
Can I colour the fluffy cat differently?
Absolutely. You can colour your fluffy cat orange, black, white, grey, brown, or any colours you like.
Can I print this fluffy cat tutorial?
Yes, there is a free printable PDF version available so you can draw offline at home or in the classroom.